Why a paired photo beats a status update
A status update is a claim. "Fixed" or "complete" tells the reader that someone, at some point, decided the job was done — but it carries no evidence and no detail. A before-and-after pair is proof. The first image establishes the problem and its condition; the second shows the same spot resolved. Side by side, they remove the gap between "we say it's done" and "you can see it's done," which is exactly the gap that breeds follow-up emails, re-inspections, and withheld payments.
The value compounds the longer the time between the work and the question. A board member who approves an invoice three weeks after a roof repair has no memory of the leak and no way to inspect it personally. A tenant disputing a deposit deduction wants to see the damage that justified it. An auditor reviewing a year of maintenance has nothing but your records to go on. In every case the before-and-after pair does the explaining for you, without a site visit and without your word being the only thing on the table.
There is also a quieter benefit: the discipline of taking a "before" shot forces you to look at the problem properly before you touch it. Plenty of jobs get re-scoped on the spot once someone actually frames the issue in a camera and realizes the cracked tile is one of four, or the damp patch is bigger than the work order said. The photo is documentation, but the act of taking it is also a quick quality check.
How to shoot the before photo
The before photo has one job: to capture the problem clearly enough that no one can later argue about what was wrong. Start wide, then go close. A wide shot places the defect in context — which wall, which unit, which stretch of corridor — so the location is unambiguous. Then move in for a tight shot that shows the defect itself in detail: the crack, the leak stain, the broken fixture, the worn seal. Two angles of the same problem are worth far more than one, because together they answer both "where" and "what."
Get the conditions right before you press the shutter. Good light matters more than an expensive camera, so open blinds, turn on the room lights, or use a flash rather than shooting a dim corner and hoping. Hold steady and let the camera focus on the defect, not the background. Where scale isn't obvious, add a reference — a coin, a tape measure, a hand — so a hairline crack and a structural one aren't confused later. And capture the before shot before any cleanup or prep, because once a surface is wiped down or a panel is removed, the original condition is gone for good.
Be systematic when a single job has several problems. Photograph each defect as its own item rather than trying to fit four issues into one frame, and shoot them in a consistent order so they're easy to match to the after set. A wet room with three faults is three before-and-after pairs, not one cluttered photo with everything in it. Discrete pairs are easier to read, easier to file, and far easier to defend.
How to shoot the after photo so it actually matches
An after photo only proves anything if it's visibly the same place as the before. That sounds obvious, but it's the single most common failure: a crisp "after" shot that could be any wall in the building, paired with a "before" that clearly isn't. The fix is to match the framing. Stand in roughly the same spot, at the same distance and angle, and include the same fixed reference points — a window edge, a socket, a corner, a pipe — that appear in the before image. Those anchors are what let a viewer's eye line the two photos up and accept that they show one location at two moments in time.
Shoot the after photo under similar lighting so the comparison reads as a genuine pair rather than two unrelated images. If the before was taken in daylight and the after in harsh flash, the colors and shadows shift enough that the surface can look different even when nothing changed but the repair. Mirror the before set shot for shot: if you took a wide and a close-up of the problem, take a wide and a close-up of the result. A complete pair leaves nothing for the reader to imagine.
Timing is its own discipline. The after photo belongs at the moment the work is genuinely finished and the area is clean — not mid-job with tools still out, and not so long afterward that new wear or dirt has crept in. Capturing it on the spot, while the technician is still at the location, also means the photo carries the right time and place metadata, which is what links it credibly to the completed work order rather than to a return trip nobody can account for.
Pairing, labeling, and storing the set
Two great photos are worthless if no one can tell they belong together or find them when it counts. Every pair needs to be tied to the specific item it documents — the work order, the unit, the defect — not dropped into a shared camera roll where the before and after drift apart within a week. The unit of record should be the issue, with its before and after images attached to it, so anyone opening that item sees the full story without hunting through folders or asking which photo goes with which repair.
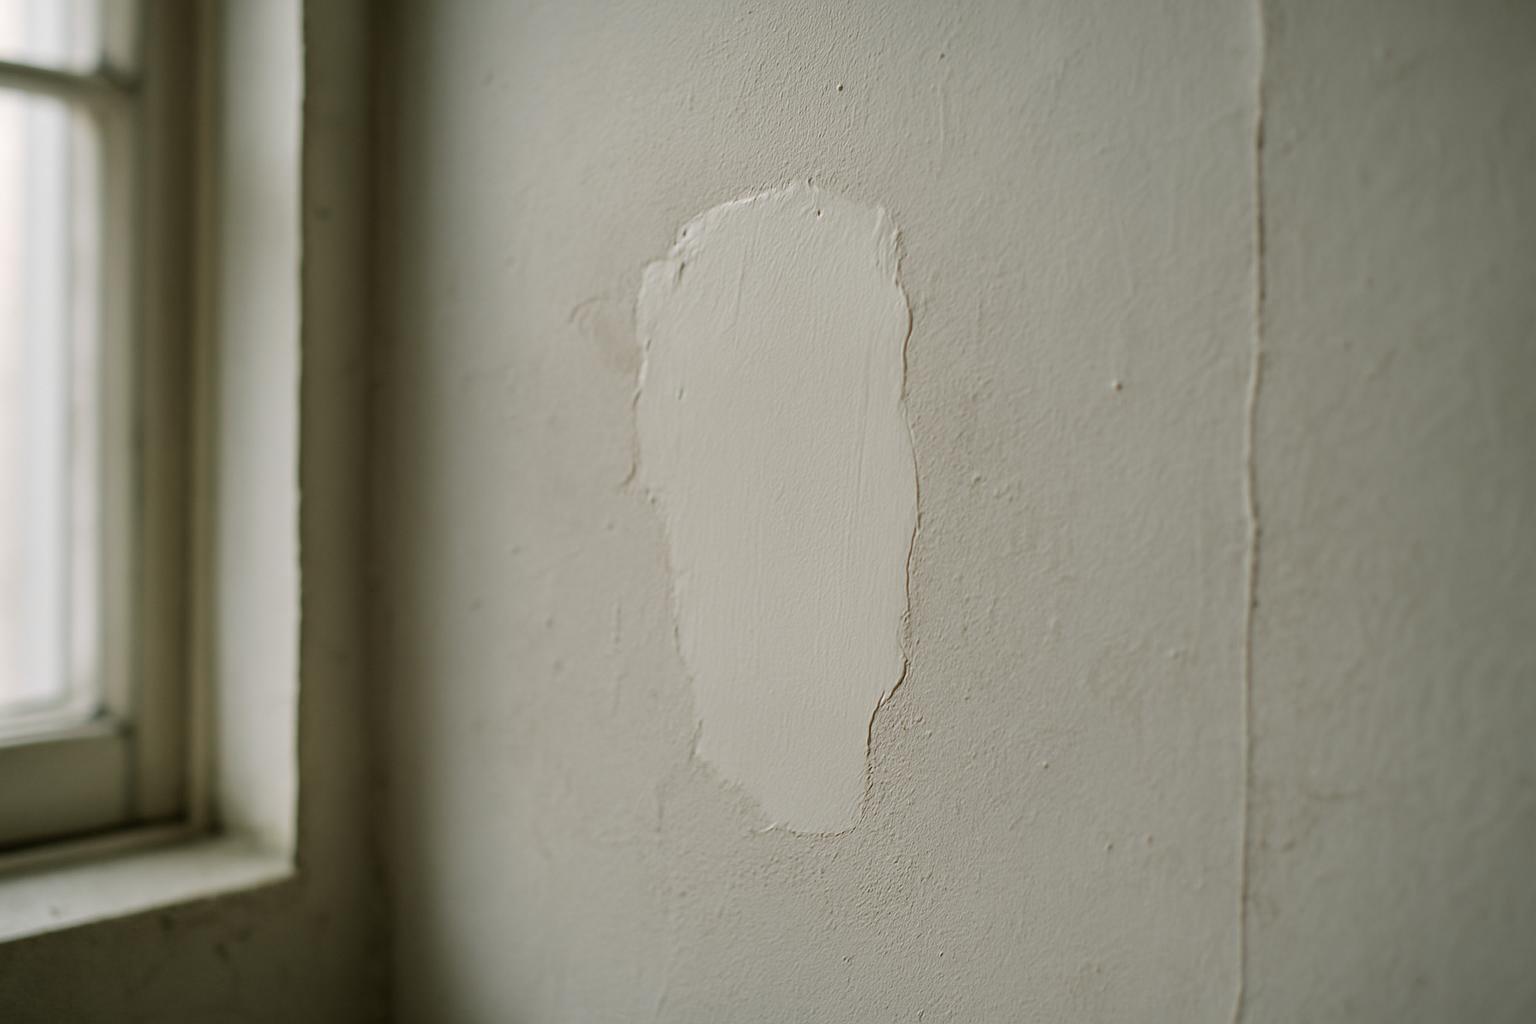
Label each pair plainly: what the problem was, where it was, when each photo was taken, and who did the work. A short factual caption turns a pair of images into evidence with a chain of custody. "Cracked floor tile, unit 4B kitchen, by the window — before" and "...repaired, [date]" reads as a record. Two unlabeled photos in a thread read as a guess. The metadata that a phone captures automatically — the timestamp and, ideally, the location — does a lot of this work for you if you keep it intact, which is one reason to handle photos inside a system rather than re-saving and stripping them through chat apps.
Storage should outlast the people involved. A technician's phone, a personal email thread, or a contractor's laptop are all single points of failure — the photos vanish when the device is wiped or the person moves on. The pairs that matter for proof belong in a shared, durable record tied to the property and the work order, where a manager, a board, or an auditor can retrieve them long after the job. If you can't pull up a repair's before-and-after a year later in under a minute, you don't really have proof — you have a memory.
Where before-and-after pairs earn their keep
The clearest payoff is closing out work orders. A job marked complete with a matched pair attached rarely gets reopened, because the person approving it can see the result instead of taking it on trust. That cuts the back-and-forth between field teams and managers, speeds up sign-off, and shortens the gap between finishing work and getting paid for it. For contractors invoicing a client, an attached before-and-after pair is often the difference between a same-day approval and a chased invoice.
Boards and committees are the next big beneficiary. An HOA or community association board approving spend on common-area repairs is accountable to residents and usually wasn't present for the work. A short before-and-after set per job lets the board show members exactly what their money fixed — the failed gutter, the patched path, the repainted lobby — which heads off the "what are we paying for?" questions that dominate meetings. The same logic serves property managers reporting to owners and facilities teams reporting to a client.
And then there are the disputes you'd rather never have. Move-out deductions, warranty claims, insurance documentation, and contractor disagreements all turn on condition before and condition after. A deposit deduction backed by a clear before image and a repair receipt is hard to argue with; one backed by "there was some damage" is not. Building the habit of paired photos on every repair means that when a dispute does arrive, the evidence already exists — you're not scrambling to reconstruct a condition that's long since been painted over.
Common mistakes that undermine the proof
The most damaging mistake is forgetting the before. Once the repair is done, the original condition can't be recovered, and an after photo on its own proves only that a surface currently looks fine — not that anything was ever wrong or that you fixed it. Make the before shot a non-negotiable first step of every job, captured before tools come out, even when the problem seems too small to bother with. The small ones are exactly the ones that get disputed.
The second is mismatched pairs: different angle, different distance, different light, no shared reference points, so the two images don't read as the same place. A viewer who has to take it on faith that the after is the same wall as the before isn't being given proof — they're being given a claim with extra steps. Discipline in framing fixes this for free.
The rest are housekeeping failures that quietly erode trust: photos compressed and stripped of their timestamp by passing through a chat app, pairs split across different people's devices, no caption so no one remembers what they showed, and no central place to retrieve them. None of these are dramatic, but together they mean that when you finally need the evidence, it's degraded, scattered, or gone. The goal is a workflow where capturing, pairing, labeling, and storing all happen in one pass at the point of work — not a cleanup job you keep meaning to do later.
How SnagGrid handles before-and-after photos
SnagGrid is built so the proof gets captured as part of doing the work, not as an afterthought. When an issue comes in, you snap a photo and drop a map pin — the address auto-fills, so the location is right without typing — and add your rough notes. AI then drafts a clear, factual report from what you wrote; it never invents facts, and you approve every word before it goes out. Each item lives as its own record, so the before image, your notes, and the location stay tied to that specific repair instead of scattering across a camera roll or a chat thread.
When the job is done, the after photo attaches to the same item, keeping the pair together with the timestamps and location intact — exactly what turns two images into defensible evidence. SnagGrid emails the right recipient automatically, logs every item to an audit trail, and gives one-tap follow-up reminders so nothing stalls between "reported" and "closed." A team dashboard with roles shows the whole list at a glance, CSV export and a scoped REST API with webhooks let you pull the record into your own systems or reports, and per-category routing sends each type of issue to the person who handles it.
The result is that closing a work order, satisfying a board, or settling a dispute becomes a matter of opening the item and seeing the before-and-after pair already there, with its chain of custody intact — no scrambling, no "trust me," no lost photos. Pricing is $29 per month per organization for one seat, plus $15 per month for each extra seat, so proving your repairs stops being a habit you have to remember and becomes the way the work already flows.