Why most defect photos fail
The typical maintenance photo is a tight close-up of a stain, a crack, or a broken fitting, shot from wherever the person happened to be standing. It proves something is wrong, but it answers none of the questions the person fixing it will ask. Where is this? How big is it? Is it new or has it been there for months? Without those answers, the photo triggers a phone call, a second visit, or a dispute — exactly the friction the report was meant to remove.
Good photo evidence is not about photography skill. It's about deliberately capturing four things in every shot or set of shots: the angle that shows the defect clearly, a sense of scale so size is obvious, enough context to locate the problem, and a reliable timestamp so the date is beyond question. Get those four right and a photo stops being a picture and becomes evidence — something that holds up in a work order, a tenant dispute, an insurance claim, or a handover sign-off.
The mindset shift is to shoot for the person who wasn't there. You know which room you're standing in and what you were looking at. The contractor, the landlord, the board, or the adjuster reading the report three weeks later knows none of it. Every photo should make sense with no caption and no memory of the moment it was taken.
Angle: show the defect, not just its surroundings
The angle is what makes a defect readable. Shoot square-on to the surface for cracks, stains, damage, and anything flat — a perpendicular shot keeps lines straight and proportions honest, so a hairline crack doesn't read as a structural fracture or vanish into a reflection. For anything with depth — a lifted floor tile, a sagging gutter, a gap behind a unit — take a second shot from a low or raking angle so the depth is obvious. One photo rarely captures both the position and the severity of a three-dimensional fault.
Light is part of the angle. Glare off glossy paint, glass, or wet surfaces can hide the exact thing you're documenting, so move a step to the side or change your height until the defect is the clearest object in the frame. For fine detail — a crack you can barely see, a damp patch, a scratch — raking light across the surface from the side throws it into relief far better than a flat, head-on flash that washes everything out.
Resist the urge to over-zoom. A digital zoom degrades the image and strips out the surroundings that make it useful. Get physically closer if you need detail, but always pair a close-up with a wider shot. The close-up proves the severity; the wider shot proves where it is. Treat them as a pair, not a choice.
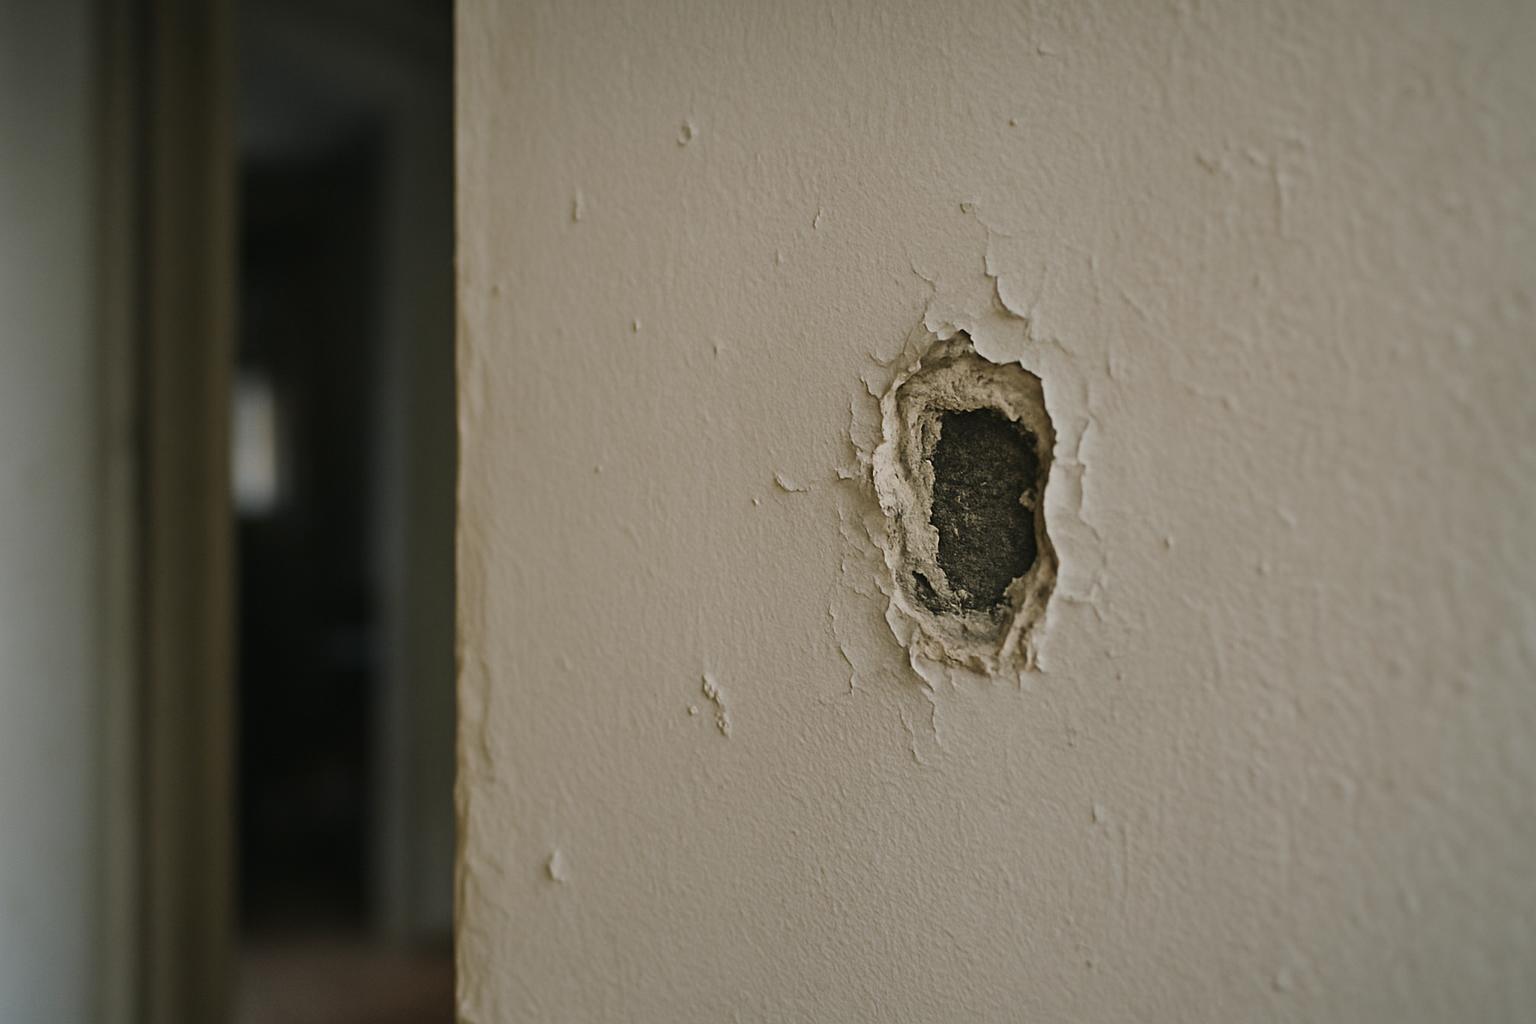
Scale: make size impossible to argue about
A photo with no reference object gives no sense of size, and size often decides priority and cost. A 5mm crack and a 50mm crack can look identical in isolation. The fix is to put something of known size in the frame: a coin, a tape measure, a pen, a standard key, or a hand. A tape measure laid alongside a crack or held across a gap is the gold standard — it turns a vague impression into a measurement anyone can read off the image.
Where a measuring tool isn't to hand, use the everyday objects already in the scene. A light switch, a power outlet, a standard brick course, a door handle, or a floor tile are all roughly known dimensions and let a reader estimate size with confidence. The point isn't laboratory precision — it's giving the person on the other end enough to judge whether this is a cosmetic touch-up or a serious repair without coming to look.
For larger problems — a damaged ceiling, a failing section of render, water spreading across a floor — include a recognisable full-size object such as a chair, a doorway, or a person for scale. A photo of a damp patch means little; a photo of a damp patch spanning half a wall, with the doorway visible for reference, communicates the extent in a single glance.
Context: prove where the problem is
Context is what turns a floating close-up into a located fact. After the detail shot, step back and take a wider frame that anchors the defect to something identifiable — a window, a door, a unit number, a corner of the room, a recognisable fixture. The reader should be able to walk into the space and find the exact spot without asking. "Cracked tile" plus a tight close-up is weak. The same close-up alongside a wide shot showing it's the second tile from the window in the corner of the kitchen is something a contractor can act on immediately.
For anything across a site or a large building, work from the outside in: a shot establishing the building or area, then the room or zone, then the defect itself. This sequence reads like an address and removes the most common cause of wasted trips — the right person arriving at the wrong place. On exterior and public-space issues, capturing a fixed landmark, a sign, or a door number in one frame does the same job.
Context also protects you. A defect photographed in isolation can be claimed to belong to a different unit, a different date, or a different cause. A photo that visibly ties the fault to a specific, identifiable location is far harder to dispute, which matters most precisely when the report is contested — at handover, at move-out, or in a claim.
Timestamp and location: the evidence that holds up
The single most valuable piece of metadata on a defect photo is a reliable timestamp. When a problem was first recorded often matters as much as what it shows — for response-time obligations, for proving a defect existed before a deadline, for distinguishing original damage from later wear, and for any dispute that turns on dates. Avoid burning the date into the corner of the image with a camera app, which is trivial to fake and looks it. A timestamp recorded by the system that captured the photo, tied to the report, is far more credible than pixels painted onto the picture.
Location works the same way. A photo geotagged or pinned to an address ties the evidence to a place automatically, without anyone typing a unit number that might be wrong. Together, a trustworthy timestamp and an anchored location answer the two questions every dispute eventually asks — when was this, and where was this — before they're even raised. That's the practical reason timestamped, geotagged photos carry weight that loose phone snaps never will.
Keep the originals. Cropping, annotating, or compressing a photo for a report is fine, but retain the unedited file with its original metadata intact. If a report is ever challenged, the original image and its embedded date and location are what stand up to scrutiny. A copy stripped of its metadata, or one that's been passed through three chat apps, has lost most of what made it evidence in the first place.
Building a repeatable habit on site
Consistency beats heroics. The teams whose photos always work follow the same simple routine for every item: a wide context shot, a square-on detail shot, and a scale shot — three frames, same order, every time. Once it's muscle memory it takes seconds and you stop relying on remembering what mattered after the fact. A short shared standard, even a single sentence pinned where the team can see it, turns scattered habits into something you can audit.
Match the photos to clear notes. A photo and a one-line factual description of what's wrong and what "done" looks like reinforce each other — the words say what to fix, the image proves the condition. Shoot before you touch anything, especially on move-outs, inspections, and incident reports, because once a surface is cleaned, moved, or repaired the chance to document the original state is gone for good.
Finally, capture everything in one pass rather than promising to photograph it properly later. "I'll get a better picture next time" is how evidence goes missing. The defect that isn't photographed on the spot, with context and scale, is the one that turns into a dispute you can't win — so build the habit of doing it right while you're standing in front of the problem.
How SnagGrid handles photo evidence
SnagGrid is built so good photo evidence happens by default, not by discipline alone. You snap a photo and drop a map pin, and the address auto-fills — so location is anchored without anyone typing a unit number. Each item carries a reliable timestamp recorded by the system, so the when and where are settled the moment you capture them, not reconstructed later. You add rough notes, and AI drafts a clear, factual report from what you wrote; it never invents facts, and you approve every word before it sends, so the report describes exactly what the photo shows and nothing more.
From there SnagGrid emails the right recipient, logs every item with its photo to an audit trail, and gives one-tap follow-up reminders so nothing stalls. A team dashboard with roles keeps the whole set of evidence in one place, CSV export and a scoped REST API with webhooks let you move the data into your own systems, and per-category routing sends each type of issue to the right person. Pricing is $29 per month per organization for one seat, plus $15 per month for each extra seat — so your defect photos stop scattering across phones and chat threads and become a record, with location and date attached, that you can stand behind.